Hi All,
I recently had a baby boy and has filled my life with a flurry of activities. I remember my childhood when i used to sleep in a thotil and wanted my son to enjoy the same. Living in Canada in an apartment it was next to impossible to set it up up so i gave my brain cells some work. Here is what it ended up in...
First i google'd for thotil(indian baby hammock) and came across couple of people who has attempted to construct something, i was not satisfied with the end result. Another option was to buy the baby hammock from china but it would not give me the satisfaction of creating something and also the final cost came to around 300$ !!!. Finally i came across a site which was selling kids outdoor swing set and this gave me a idea, why not change the design to use it indoor, hmm...doable ???
Here is the instruction manual for building a outdoor swing
The next thing was to list out the parts needed
Parts needed:


I had to use only 3 of the 4 screw holes as the angle had to be less than the outdoor swing. Also make sure the bracket top is flush with where the cross beam sits, otherwise the swing may not be rigid.
Now screw the support planks at the middle of the A frames to give support to the A frames
 You are done with the A frames

Second step is to drill holes into the cross beam so that they can be bolted to the A frames. Make sure you have enough space between the two A frames so that your little one does not get banged against the frame. Measure the distance between the bolt holes on the top of each the brackets and drill into the cross beam at each ends. Also drill a hole in the middle to hang the hammock
You are done with the cross beam
Third step is to assemble everything(you will need some help to hold on to the A frames while you assemble). Screw in the carriage bolts from below as they fit into the bracket hole. Once you are done assembling the frames, bolt on the center hook and you can hang the hammock using a S hook.
Note: Make sure the frames sit snugly on the floor and does not wobble back and forth. It tends to sway a bit sideways due the bracket, that's ok

Fourth and final step is make the hammock, ideally you would need about 15 feet of thin, strong and breathable material made of cotton. My in laws bought some from India which are specifically made for this. In case you cant get hold if it, a good bed sheet would do. Typically the ends are stitched together to form a cylinder and hung from the S hook but i did not have a sewing machine and so ended up using a nylon rope to tie to both the ends and hanging it from the S hook.


The small wooden plank hanging in the middle is to keep the two sides of the hammock apart for more air flow, even if it is not used the sides wont come together once you put the baby inside.
Make sure the A frame angle are stable and if you don't want it to occupy lot of space cut the frames to size.
Full assembled it was pretty good for a days work :) and Jr was happy to take a nap.
Total cost of parts : 72 $

Pls note: I don't assume any responsibility for anything as a result of following my design, pls be careful. Health Canada strongly advices against using hammocks for babies.
I recently had a baby boy and has filled my life with a flurry of activities. I remember my childhood when i used to sleep in a thotil and wanted my son to enjoy the same. Living in Canada in an apartment it was next to impossible to set it up up so i gave my brain cells some work. Here is what it ended up in...
First i google'd for thotil(indian baby hammock) and came across couple of people who has attempted to construct something, i was not satisfied with the end result. Another option was to buy the baby hammock from china but it would not give me the satisfaction of creating something and also the final cost came to around 300$ !!!. Finally i came across a site which was selling kids outdoor swing set and this gave me a idea, why not change the design to use it indoor, hmm...doable ???
Here is the instruction manual for building a outdoor swing
The next thing was to list out the parts needed
Parts needed:
- 4 2x4x10 wood planks for 2 A frames
- 1 cross beam to connect the two A frames, i used a fencing post as the 4x4 post was too long and home depot said they would not cut it to length :(.
- 2 1x.5x2 wood planks for support
- 2 sets of swing brackets (lowes)

- 30 1 inch Screws for the bracket
- 4 carriage bolts with washer and nuts

- 1 S Hook
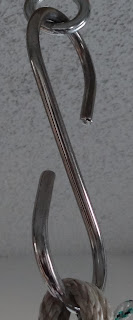
- 1 O ring hook
.JPG)

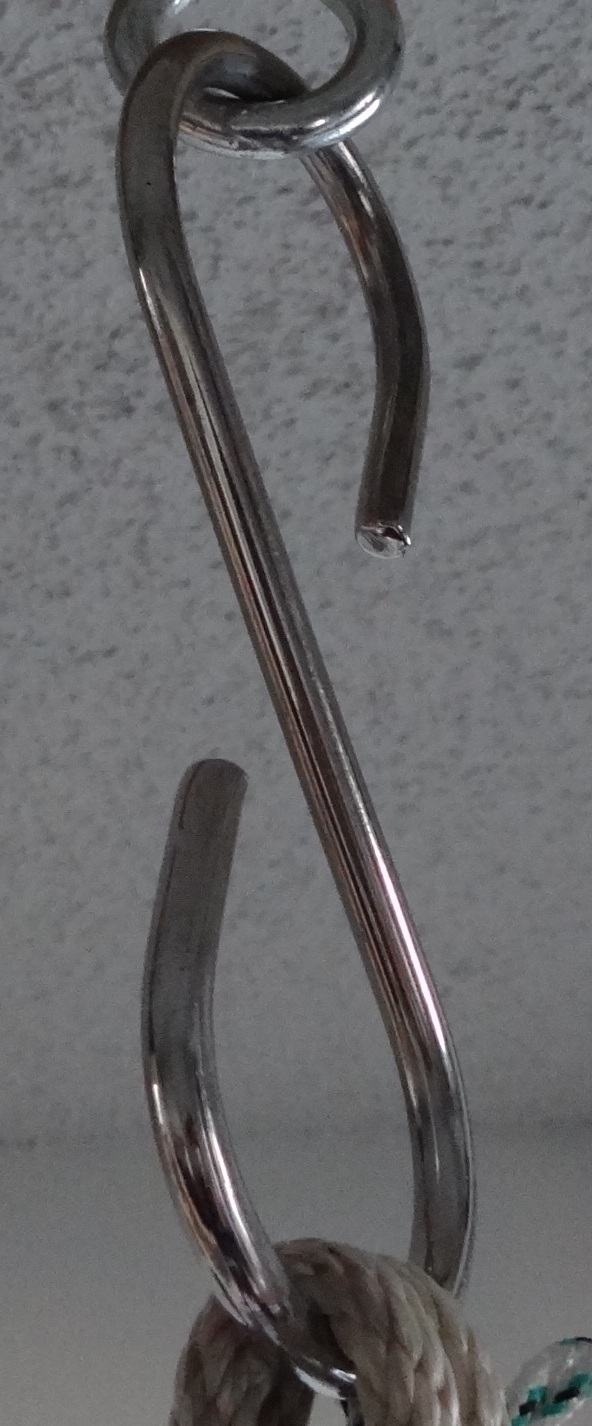
.JPG)
- 10 feet of strong nylon rope
- 15 feet x 5 feet of strong, thin and breathable cotton cloth


I had to use only 3 of the 4 screw holes as the angle had to be less than the outdoor swing. Also make sure the bracket top is flush with where the cross beam sits, otherwise the swing may not be rigid.
Now screw the support planks at the middle of the A frames to give support to the A frames


Second step is to drill holes into the cross beam so that they can be bolted to the A frames. Make sure you have enough space between the two A frames so that your little one does not get banged against the frame. Measure the distance between the bolt holes on the top of each the brackets and drill into the cross beam at each ends. Also drill a hole in the middle to hang the hammock
You are done with the cross beam
Third step is to assemble everything(you will need some help to hold on to the A frames while you assemble). Screw in the carriage bolts from below as they fit into the bracket hole. Once you are done assembling the frames, bolt on the center hook and you can hang the hammock using a S hook.
Note: Make sure the frames sit snugly on the floor and does not wobble back and forth. It tends to sway a bit sideways due the bracket, that's ok

Fourth and final step is make the hammock, ideally you would need about 15 feet of thin, strong and breathable material made of cotton. My in laws bought some from India which are specifically made for this. In case you cant get hold if it, a good bed sheet would do. Typically the ends are stitched together to form a cylinder and hung from the S hook but i did not have a sewing machine and so ended up using a nylon rope to tie to both the ends and hanging it from the S hook.


The small wooden plank hanging in the middle is to keep the two sides of the hammock apart for more air flow, even if it is not used the sides wont come together once you put the baby inside.
Make sure the A frame angle are stable and if you don't want it to occupy lot of space cut the frames to size.
Full assembled it was pretty good for a days work :) and Jr was happy to take a nap.
Total cost of parts : 72 $

Pls note: I don't assume any responsibility for anything as a result of following my design, pls be careful. Health Canada strongly advices against using hammocks for babies.